I tend to equate my home to that of Ron Weasley’s house called “the Burrow”. All that’s missing is the ghoul in the attic, and sometimes I could swear there was one living there. We live in a three bedroom, three bath, brick home. The house was built with no right angles and there are parts to it that if you spill water, it will literally roll downhill. Lots of cheap paneling everywhere. In fact, all of the kitchen cupboards and bathroom vanities are made from cheap paneling. Of course, I have disguised it under paint the best I could. Oh, and lets not forget the ugly 70’s color of mustard yellow toilets, mustard yellow counter tops, and mustard yellow sinks. UGH!
Our little family of five lives on a very tight budget. We have two kids in college, one in high school and of course Troy and I, all living on one income. It can be tough to do any upgrades. So, I have been taking it slow. We’re talking–turtle slow. You could literally watch grass grow in the time that I finish a project around my house.
My first project was my coffee table. Like I said–turtle slow. We bought our furniture twenty-one years ago, when we moved into our home. We had money back then and bought quality stuff. Twenty-one years, and three kids later, it was looking a little worn. Worn, but not ready to be thrown in the garbage.
Years of putting glasses on the table without coasters did some damage. I was determined to make it look like new, so I tried my hand at mosaics. I think it turned out rather fetchingly.
First, I sanded it down. I had to do this outside, since it made such a great mess. I also sealed the top with special glue, that I mixed with water. I wish I had the bottle. I can’t remember what the glue is called, but in my research, it’s what professionals use when doing mosaics on wood. Then, I chose to paint the bottom of the stand with chalk paint in gray. I had never used chalk paint and wanted to try it. I have fallen in love with chalk paint. It holds up really well.


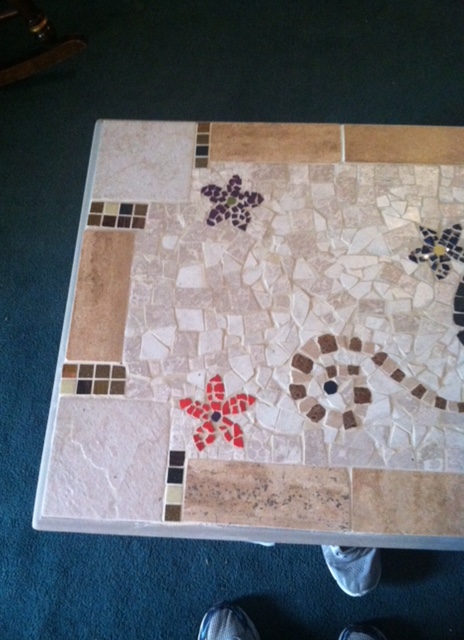
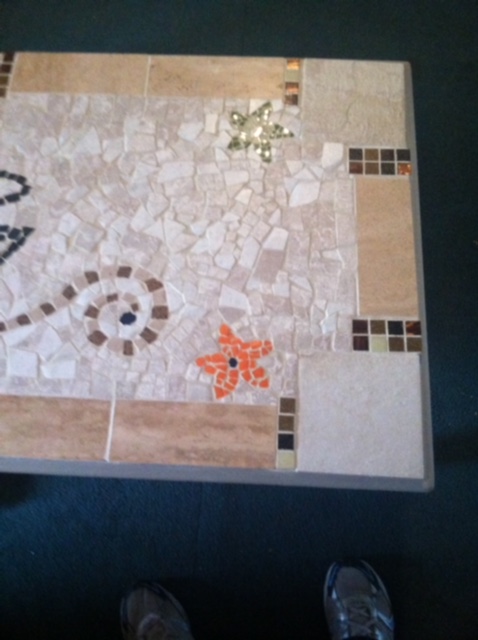
I added the border to my table, then I drew the design I wanted on the top.


Next, we began cutting and nipping the stone. I bought tiles from Lowe’s and broke them into smaller pieces. I also broke some old pots I had for “in case” I wanted to plant something. Those pieces I used for the design.


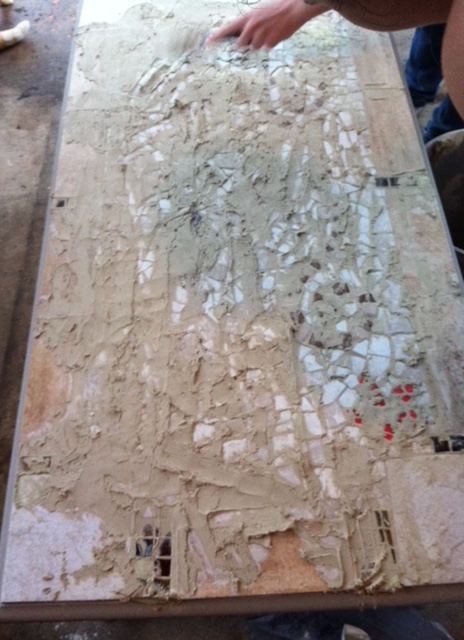
Then, when the last piece was in, we took it outside and began the grouting process. Grout is very messy. After you grout, you let it dry the allotted amount of time, and then you begin washing it off with a sponge.
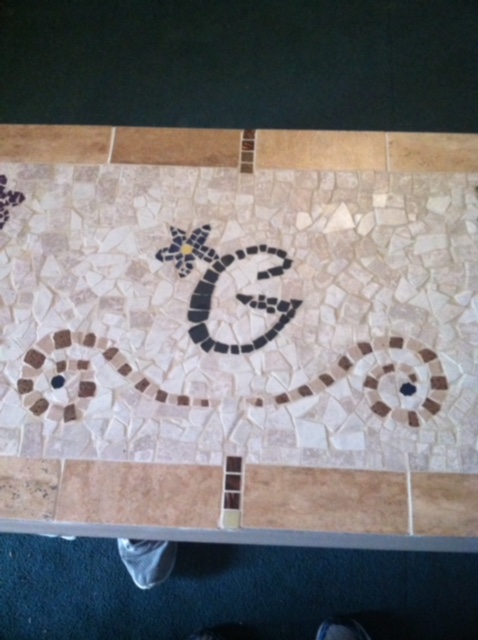
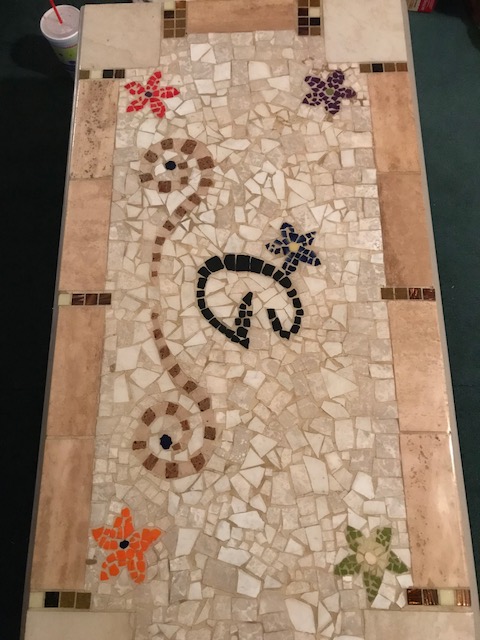
If you will notice in one of the pictures above, the G was originally done in white stone. We tried to nip the black tiles we had bought, but every time we nipped them, they would turn to dust. It was weird. So I painted the G in black. And this is how it turned out.
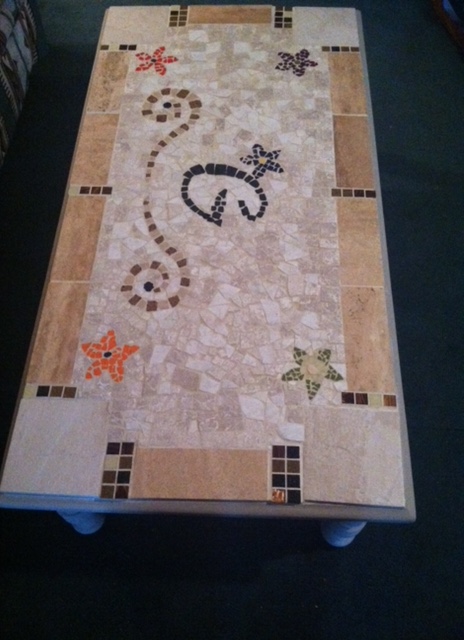
After it cured for a week, I put epoxy over the top. I think it turned out stunning, especially since I had never done a mosaic in my life. Here is a picture with the Epoxy.
And that’s it. My next project was a lamp. I will be posting about it soon. Hope you enjoyed my post.


